
DIY Lip Balm: Homemade Beauty with Natural Ingredients

Chapped lips can be uncomfortable and frustrating. Many commercial lip balms contain chemicals and artificial fragrances that may irritate sensitive skin. Making your own lip balm at home offers a simple, natural alternative that lets you control exactly what goes on your lips. With a few basic ingredients, you can create a nourishing balm that protects, hydrates, and leaves your lips feeling soft and smooth.
This guide will walk you through the benefits of natural lip balms, essential ingredients, step-by-step instructions, and tips for customizing your own recipes. Whether you want to avoid synthetic additives or just enjoy a fun DIY project, homemade lip balm is a rewarding way to care for your lips naturally.
Why Choose Homemade Lip Balm?
Many store-bought lip balms contain ingredients like petroleum jelly, parabens, synthetic fragrances, and dyes. These can sometimes cause dryness or allergic reactions. Natural lip balms use plant-based oils, butters, and waxes that nourish and protect without harsh chemicals.
Benefits of homemade lip balm include:
Control over ingredients: You decide what goes in, avoiding allergens or irritants.
Customization: Choose scents, flavors, and textures you like.
Cost-effective: Basic ingredients are affordable and last for multiple batches.
Eco-friendly: Reduce plastic waste by reusing containers.
Therapeutic: Add essential oils for calming or invigorating effects.
By making your own lip balm, you create a product tailored to your needs and preferences, with the added satisfaction of crafting something by hand.
Essential Ingredients for Natural Lip Balm
Creating lip balm requires a balance of oils, waxes, and butters to achieve the right texture and moisturizing properties. Here are the key components:
1. Wax
Wax gives lip balm its solid form and helps it stay on the lips. The most common natural wax is beeswax, which also has mild antibacterial properties. For a vegan option, candelilla wax or carnauba wax work well.
2. Oils
Oils provide hydration and softness. Popular choices include:
Coconut oil: Moisturizing and has a pleasant scent.
Sweet almond oil: Light and absorbs quickly.
Jojoba oil: Closely resembles skin’s natural oils.
Olive oil: Rich in antioxidants.
3. Butters
Butters add richness and help protect lips from dryness. Common butters are:
Shea butter: Nourishing and creamy.
Cocoa butter: Adds firmness and a mild chocolate scent.
Mango butter: Lightweight and smooth.
4. Optional Additives
Essential oils: For fragrance and therapeutic benefits (e.g., peppermint, lavender, orange).
Vitamin E oil: Acts as a natural preservative and skin conditioner.
Natural colorants: Such as beetroot powder or cocoa powder for tint.
Tools and Containers You’ll Need
Before starting, gather these items:
Double boiler or heat-safe bowl and saucepan
Measuring spoons and cups
Stirring utensil (spoon or spatula)
Small containers or tubes for the finished balm (tin pots, lip balm tubes, or small jars)
Dropper (optional, for essential oils)
Step-by-Step Guide to Making Lip Balm
Basic Recipe
This recipe makes about 4 small containers of lip balm.
Ingredients:
2 tablespoons beeswax pellets
2 tablespoons coconut oil (or herb infused oil of choice)
2 tablespoons shea butter
10-15 drops essential oil (optional)
1/2 teaspoon vitamin E oil (optional)
Instructions:
Melt the wax and butters: Place beeswax, coconut oil, and shea butter in a double boiler. Heat gently until fully melted, stirring occasionally.
Remove from heat: Once melted, take the mixture off the heat.
Add oils: Stir in essential oils and vitamin E oil if using.
Pour into containers: Quickly pour the liquid balm into your containers before it hardens.
Cool and set: Let the balm cool at room temperature until solid, about 1-2 hours.
Label and store: Keep your lip balm in a cool, dry place. Use within 6 months for best freshness.
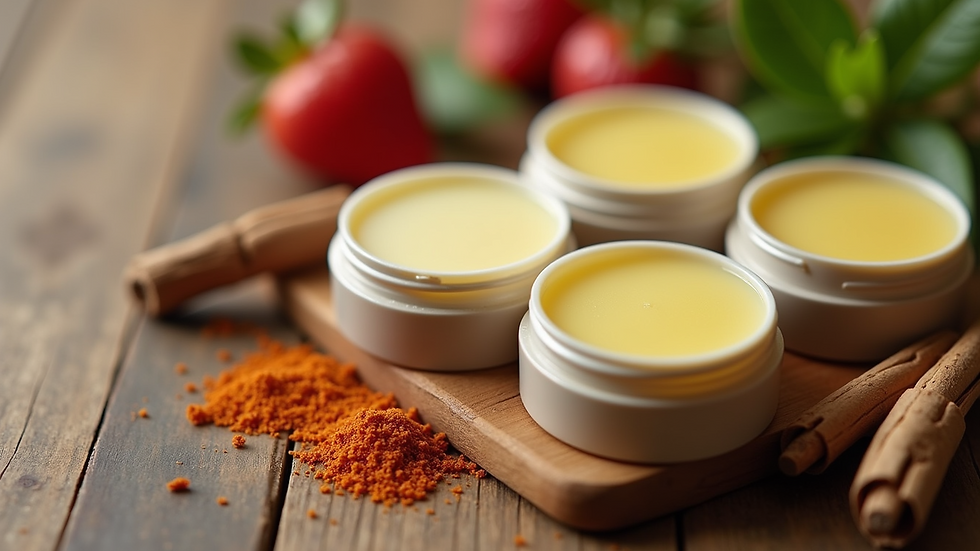
Close-up view of homemade lip balm in small round containers with natural ingredients around
Tips for Customizing Your Lip Balm
Adjust Texture
For a firmer balm, add more beeswax.
For a softer balm, increase the amount of oils or butters.
Experiment with different butters for unique textures.
Add Color
Mix in a small amount of beetroot powder for a pink tint.
Use cocoa powder for a brownish shade.
Avoid synthetic dyes to keep the balm natural.
Choose Scents
Peppermint essential oil adds a refreshing, cooling effect.
Lavender offers calming properties.
Sweet orange or vanilla provide a warm, sweet aroma.
Use only a few drops to avoid irritation.
Make It Vegan
Replace beeswax with candelilla or carnauba wax.
Use plant-based oils and butters exclusively.
How to Use and Store Your Lip Balm
Apply your homemade lip balm as needed throughout the day, especially in dry or cold weather. It works well as a base before lipstick or on its own for natural shine.
Store lip balm in a cool place away from direct sunlight to prevent melting or spoilage. If your balm softens in heat, keep it in the refrigerator during hot months.
Common Mistakes to Avoid
Overheating ingredients: High heat can degrade oils and butters. Melt gently.
Adding too much essential oil: This can irritate lips. Use sparingly.
Not stirring well: Ensure all ingredients blend evenly for consistent texture.
Using dirty containers: Always use clean, dry containers to avoid contamination.
Why Natural Ingredients Matter for Your Lips
Lips have thin skin and lack oil glands, making them prone to dryness and damage. Natural ingredients like beeswax and shea butter create a protective barrier while nourishing the skin. Oils like jojoba and coconut penetrate deeply to restore moisture.
Using natural lip balm reduces exposure to synthetic chemicals that may cause sensitivity or allergic reactions. It also supports sustainable and ethical sourcing when you choose organic or fair-trade ingredients.
Final Thoughts on Making Your Own Lip Balm
Crafting your own lip balm is a simple way to care for your lips with natural, wholesome ingredients. It saves money, reduces waste, and lets you create a product that suits your preferences perfectly. With a few basic supplies and some creativity, you can enjoy soft, healthy lips all year round.
Try experimenting with different oils, butters, and scents to find your favorite combination. Share your homemade lip balm with friends and family as thoughtful, personalized gifts. Embrace the satisfaction of making beauty products that are good for you and the planet.
Start your DIY lip balm journey today and discover the joy of homemade beauty.


Comments